Saturday, December 31, 2011

Supporting My Platform

No, I'm not running for office.  I know where Libya is, I have no doubts that Canada is indeed a foreign country, nor do I credit the Founding Fathers with ending slavery.  I do, however, have a platform, and after about 4 hours of work, that platform is well supported.

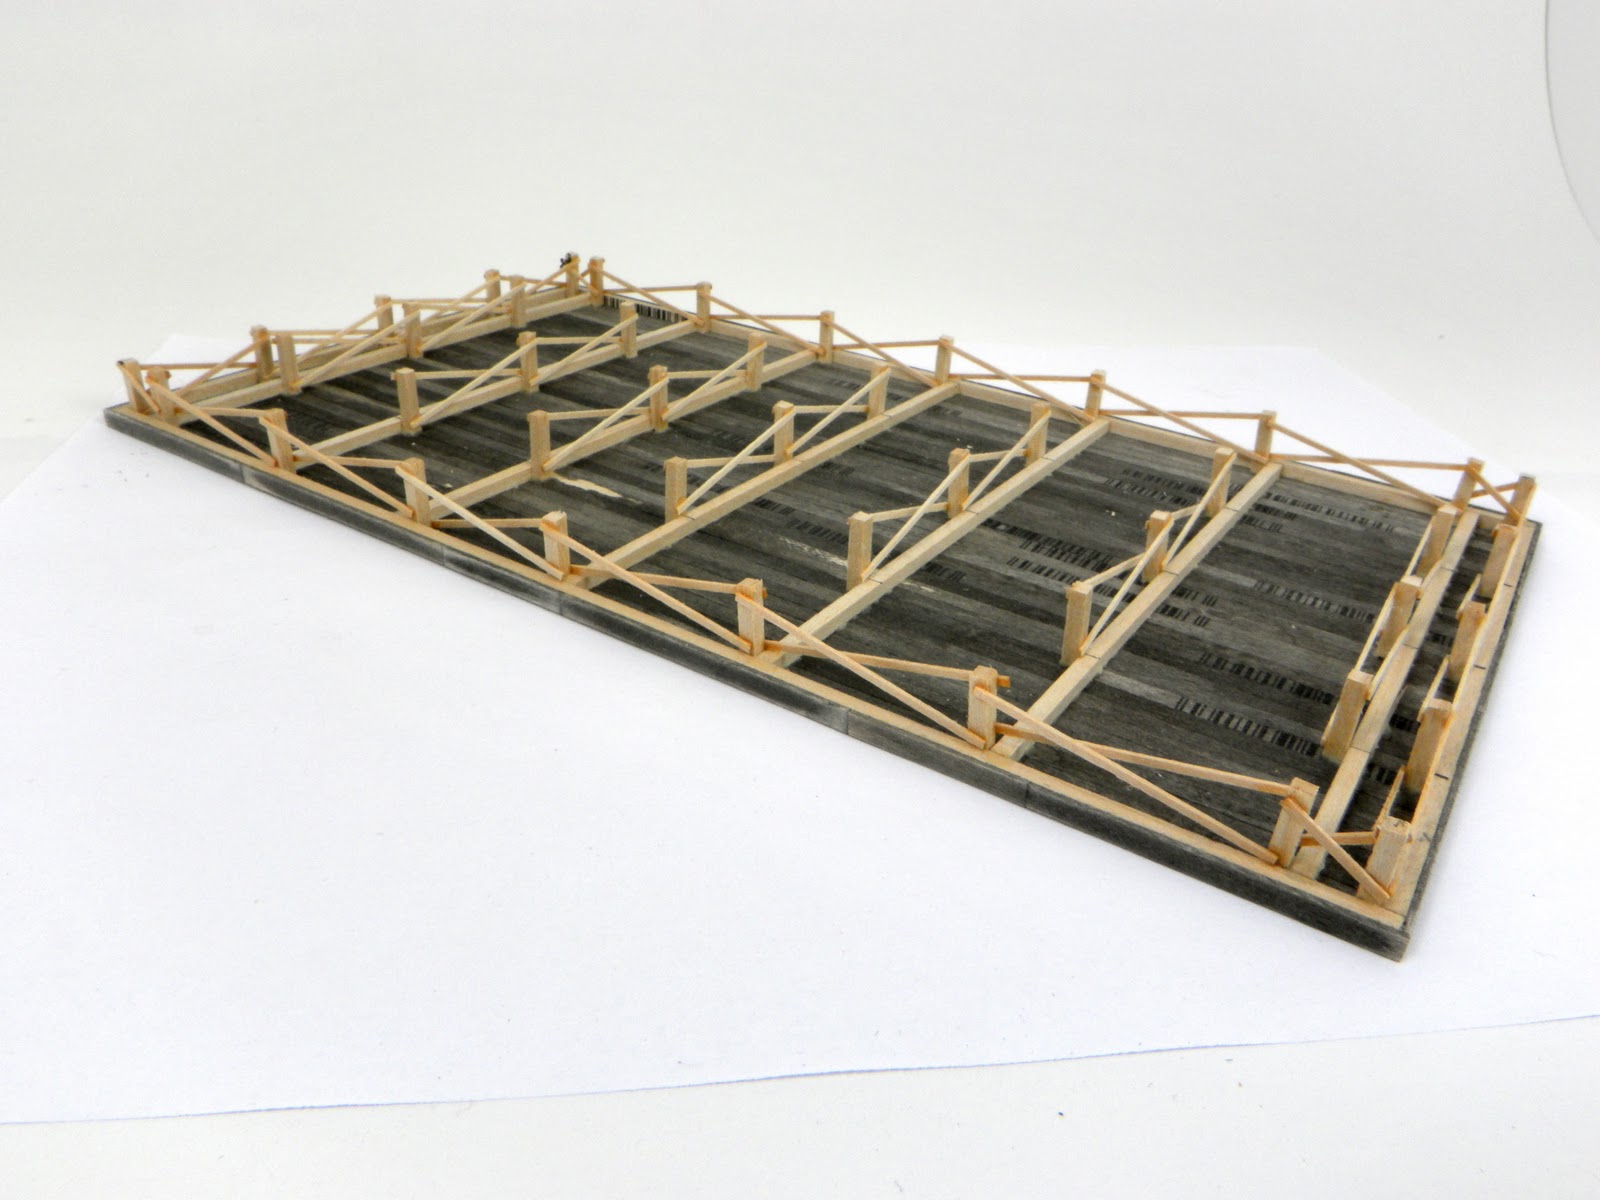
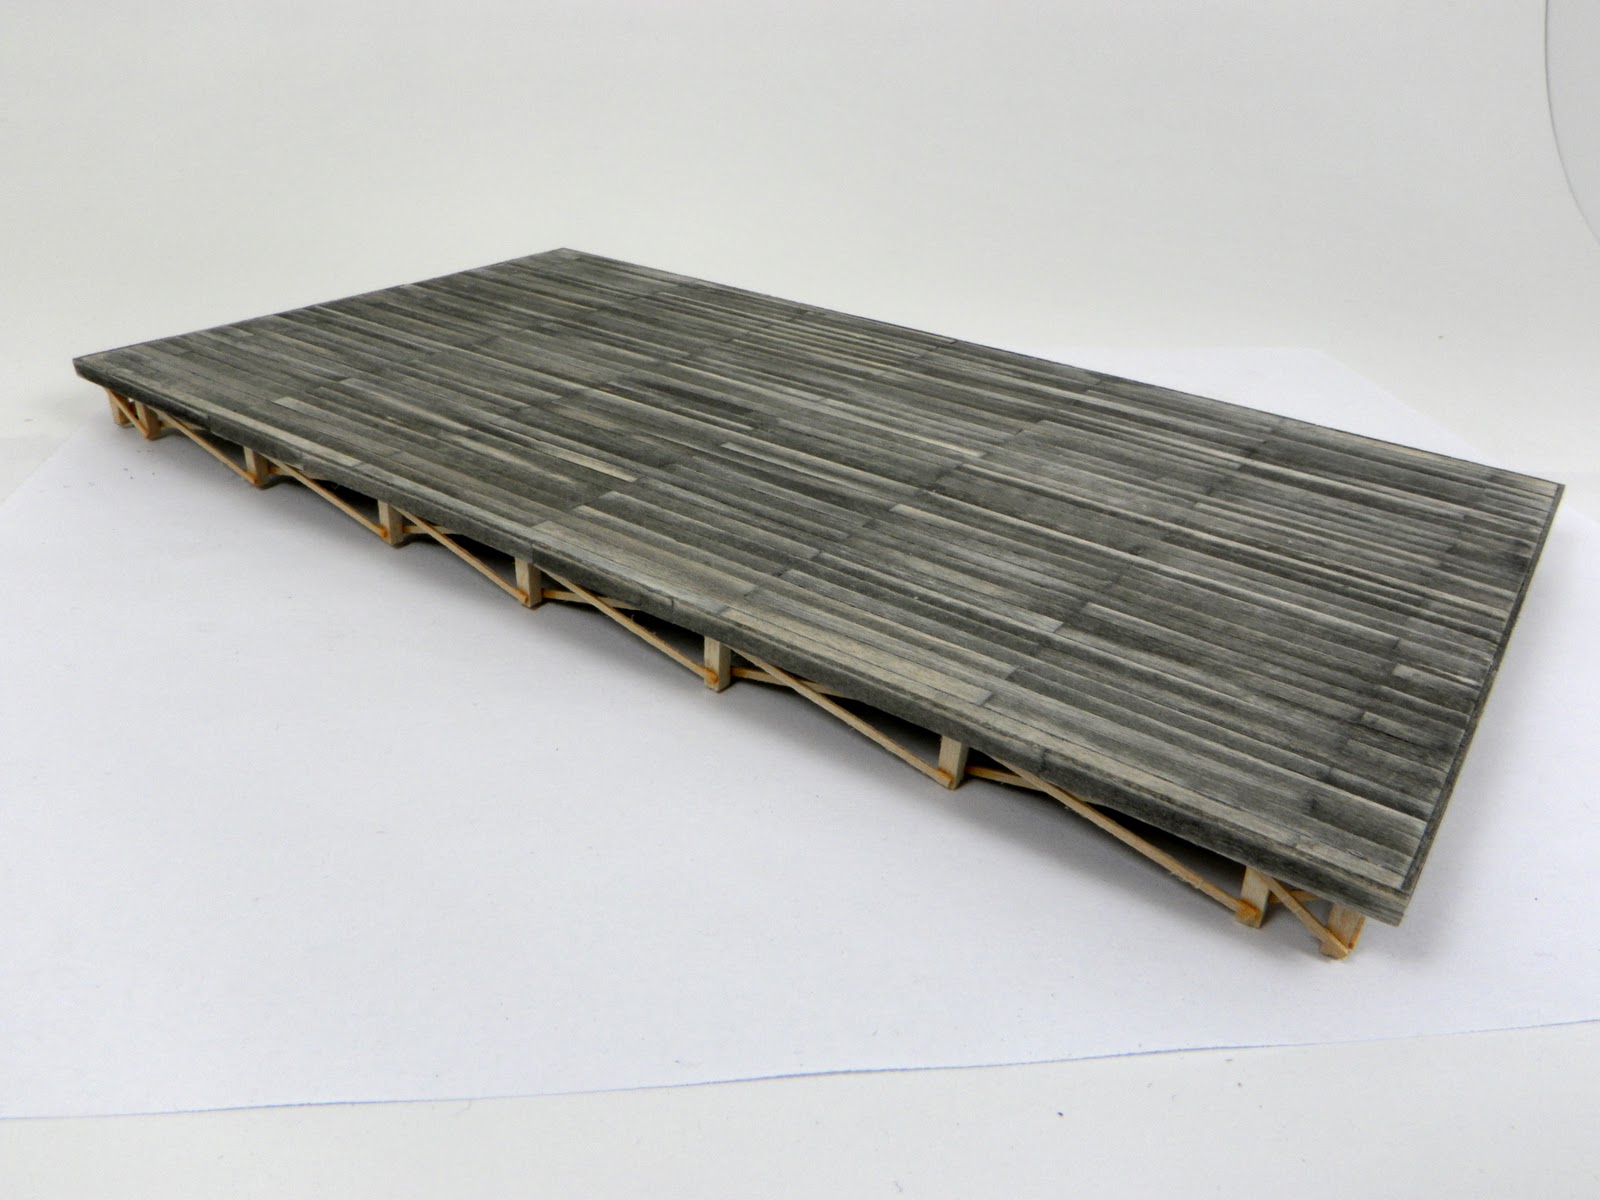
I'm referring, of course, to my depot platform.  The legs are all installed, braced, and stained.  All that remains is the level them up with a little sanding, and get the height adjusted.


Monday, December 26, 2011

A Look Down The Line At 2012

I've never been big on New Year's resolutions, setting goals, all that sort of thing, but something is compelling me to set some direction this year.  Maybe it's an attempt to focus my energy; I have quite a few "irons in the fire" right now.

2011 was a big year for me as a modeler:
  • First and foremost was the publication of my first magazine article.  This was a huge deal for me, and a it's a huge relief to be able to check it off the list.  I still prefer the blog as a means of publication, but there's something to be said for seeing your work in a mainstream magazine.
  • The second big achievement was getting a merit award for my produce warehouse, putting me one step closer to the MMR.
  • In August, I received the Meritorious Service Award for my volunteer efforts with the NMRA, an unexpected and very welcome surprise.
  • Last but not least, my Boxcar Full O' Buckets won first place in the Twin Cities Division's November modeling contest.
All in all, not a bad year.  I certainly have some momentum to carry me into 2012.  Looking ahead, there are some specific things that I would like to accomplish in the coming year.  By putting them here for everyone to see, I'm adding some accountability.  Y'all can help prod me along if I'm not getting the work done.
  • I'm very close to completing the Author Achievement for the MMR.  I want to complete this in 2012.
  • I want to publish at least 2 more articles in national magazines
  • I want to get something into Model Railroader, be it an article or a photo
  • This one's a given, but I want to attend the 2012 TLR convention in Sioux Falls
  • I want to complete two major structures for the layout.  One of these will be the depot that I'm currently building, the other is as yet undetermined, but possibly will be the Lakeside Inn.
  • I will be conducting my first clinic, two actually, for the Twin Cities Division, covering some of my scratchbuilding techniques.  If these go well, you may see me presenting at the 2013 regional convention!
That's probably enough for one year.  Gotta leave room for the "real" job in there somewhere, which brings along its own list of things to be done...

Friday, December 23, 2011

New Commenting System

I'm trying out a new commenting system on the blog, a service called Disqus.  You may recognize it from other web sites, as it's becoming a bit of a standard.

Why the change?  Well, for starters, I like the looks of Disqus more than the standard Blogger comments.

Second, you, the reader, no longer need to have a Google profile in order to comment.  You can comment using your Facebook identity, or Twitter, Yahoo, or Google.  I'm hoping this will spur some additional comments from readers.

Let me know what you think, comment on this post, let's see what Disqus can do!

Sunday, December 18, 2011

155 Boards

155 boards to glue down, 155 boards, glue one down and grab the next one, 154 boards to glue down...

I'm talking about floor boards for the depot.  Between errands, grocery shopping, laundry, and some other housekeeping (wife's out of town, remember?), I managed to get the depot floor framed up and all of the floor boards cut and stained.

Here's the frame, 36 scale feet wide by 66 scale feet long.  The depot itself isn't that large, but this will allow for some open dock areas around the structure:


155 floor boards, each 2"x12"x20' (in HO scale, obviously), ready for staining:


155 floor boards, stained in a 50% alcohol, 50% India ink solution:


The tedium of gluing those 155 boards to the frame has begun:


154 boards, glue one down and grab the next one, 153 boards to glue down...

Saturday, December 17, 2011

The Depot

Just in time for the holiday travel peak, Hill City is getting a depot.  The lot has been graded and leveled, blueprints finalized, and construction of the foundation has begun.  The depot will sit in the front-right corner of the layout, where one of the tracks appears to disappear through the backdrop.


I'm hoping to loosely capture the feel of this scene:


I love the way the tracks curve away out of sight beyond the depot, but I'm not thrilled with the actual depot itself.  I want a depot that will stand out on the layout, a nice 2-story structure.  Turns out, such depots were common in Minnesota, such as this one that existed in Lawler, MN, about 40 miles southeast of Hill City, built by the SOO Line.


Even more fortunate for me, the March issue of NMRA Magazine features plans for just such a depot.


I started construction of the foundation and platform this evening.  By the end of the weekend, I should have a good portion of the flooring installed.  With a 5-day weekend coming up, followed by a 4-day weekend, AND the wife out of town, I should really put a dent in this thing.

Saturday, December 10, 2011

Easy-Peasy Paintbrush Cleansy

I thought I would share a tip for cleaning paint brushes.  I can't remember where I picked this idea up from, it's not my idea, but it works great.  Find an empty bottle of ACT mouthwash, the type in the squeeze bottle with the little cup on top:


  • Using pliers, gently pull the center insert out of the bottle.  
  • Fill the bottle with blue windshield washer fluid, the best cleaning fluid you can get for water-based paints.
  • Replace the plastic insert that you removed
  • Label the bottle clearly to indicate that it is NOT FOR DRINKING!!!  You don't want somebody thinking it's blue mouthwash.
You now have a self-contained, spill-proof brush cleaning system.  Just squeeze the bottle to fill the little cup with washer fluid, swish your brush around in the cup, wipe dry with a paper towel, and dump out the dirty fluid.

Here's mine:

Saturday, December 3, 2011

My Weed And Grass Experiments

I spent the afternoon continuing my landscaping work.  Now that the entire layout is covered in dirt, and the forest is starting to take shape, I turned my attention to groundcover vegetation.  Yep, that's right, I spent the afternoon immersed in weed and grass experiments.  It was three hours of wild and crazy colors, bizarre patterns and textures, and lots of smoke (I built a fire in the fireplace, it was cold downstairs).

The challenge was to find a blend of colors that would look like dormant winter grass - not green, but not quite brown either.  My lawn right now is sort of a greenish-gray color, or it was before it snowed today, now it's white.  After a few tries, I found the combination that I wanted:


What you see here is a mixture of Light Green static grass from Woodland Scenics, ground-up leaves from outside (same coffee-grinder mix that I used for the forest floor), and clippings from a cheap Home Depot paint brush.  I did NOT apply the grass with a static applicator, because I didn't want it to stand up.  All of the tall grasses here are drooped over or laying completely flat, typical for early winter, so that's what I wanted my model grasses to look like.  Looking around outside before the snow started falling, I think I've matched the look pretty well.

A few more shots of what I finished today: